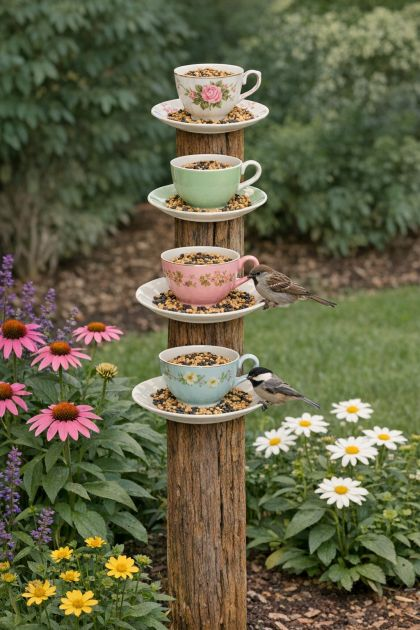
Creating a stacked teacup bird feeder from vintage teacups and saucers not only adds a whimsical touch to your garden but also provides a charming feeding station for birds. This DIY project is perfect for repurposing mismatched or old teacups and saucers that you may have lying around. The end result is an eye-catching garden feature that your neighbors will surely admire, while also supporting local wildlife by providing a unique feeding space.
Place the finished bird feeder along a garden path or in a front yard flower bed for maximum visibility. Coordinate with other vintage garden elements, such as wrought iron furniture or a rustic wooden bench. Choose teacups with complementary colors to your existing garden decor to create a unified and cohesive look. Consider surrounding the base of the post with colorful seasonal flowers or greenery to enhance the whimsical aesthetic.
Stacked Teacup Bird Feeder
Materials
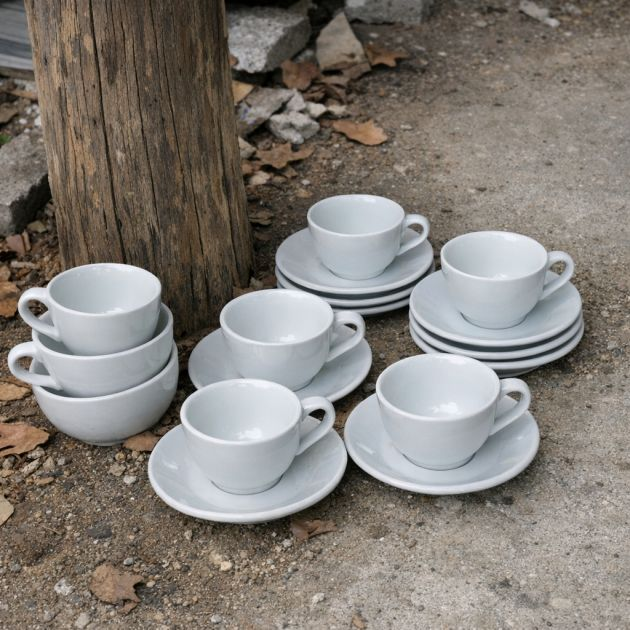
4 vintage teacups
4 matching saucers
Strong outdoor adhesive (waterproof)
1 sturdy wooden post (approximately 6 feet tall)
Shovel (for digging the post hole)
Protective gloves
Directions
1. Begin by selecting four mismatched vintage teacups and their corresponding saucers. Ensure they are clean and dry before starting the project.
2. Use the strong outdoor adhesive to glue each teacup onto its saucer. Apply the adhesive to the bottom rim of the teacup and press it firmly onto the center of the saucer. Allow it to dry completely as per the adhesive instructions.
3. Once all teacups are securely glued to their saucers, prepare your wooden post by ensuring it is clean and free of debris.
4. Carefully measure and mark four equidistant spots on the wooden post where each teacup and saucer set will be attached.
5. Starting from the top of the post, apply adhesive to the base of the first saucer and press it onto the marked spot on the post. Hold in place until secure. Repeat with the remaining teacup and saucer sets, working your way down the post.
6. Allow the adhesive to dry completely, following the manufacturer’s instructions for outdoor use.
7. Choose a location in your garden or front yard to install the bird feeder. Use a shovel to dig a hole deep enough to securely set the post into the ground. Place the post in the hole and fill it back in with soil, ensuring the post is stable and upright.
Variations & Tips
To personalize your bird feeder, consider using a variety of teacup sizes and styles, such as those with ornate handles or gilded edges, to add visual interest. You can also paint the wooden post in a color that matches your garden theme or apply a weather-resistant varnish for added durability. For an eco-friendly option, use reclaimed wood for the post. Additionally, try incorporating a small finial or decorative topper on the post for an extra touch of elegance.